Building the “World’s First” Gingerbread Camera
It Shoots Instax Film Through a Lens Made of Sugar and I Ate It 🍭
28 min read by Dmitri, with image(s) by yhanson100 and Daren.Published on . Updated on .
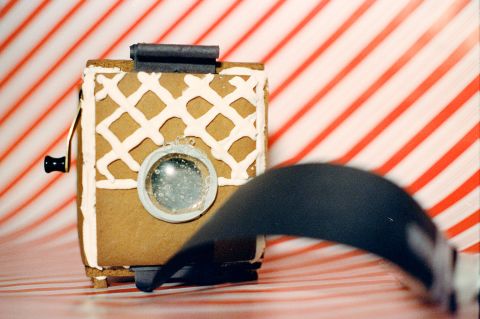
This working edible film camera has an active sugar lens that gathers enough light to shoot indoors without a tripod. It uses Instax Square film and a Jollylook mechanical film processing unit; it features a shaped paper aperture.
My second build (pictured above) has an improved design, a larger lens element, a fast gravity shutter, and a Christmas-tree-shaped aperture. The first build (below) had a Jolly Rancher lens that I later switched to isomalt; it was the first camera of its kind — but it no longer exists because I ate it.
To my surprise, this project caught the attention of PetaPixel, designboom, Kosmo Foto, 35mmc, DIY Photography, The Messenger, and CBC News. But I couldn’t tell the complete story of this camera until now.
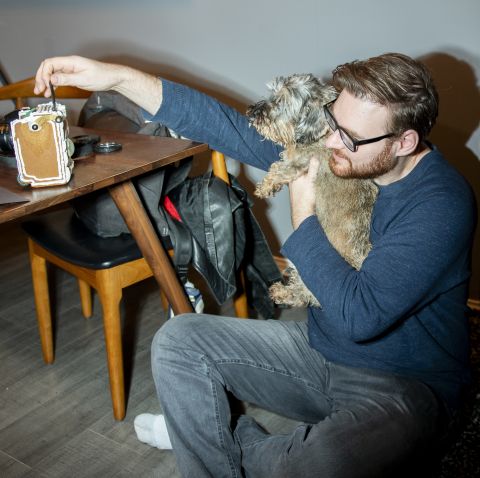
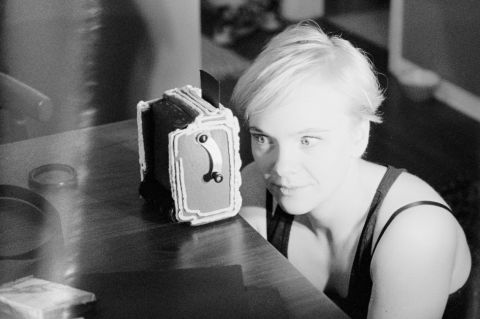
This article is my most comprehensive account of this silly idea, a full description of how it works, a look inside the camera, and even some thoughts on how it can be improved. It’s a long one, with tons of photos: starting with the scans of Instax Squares that popped out from the gingerbread, a few shots of the gingerbread camera being eaten, and an illustrated journey into making a second gingerbread camera from the spare parts. In this article: How the gingerbread camera works. Photos taken with Gingerbread 1. Photos taken with Gingerbread 2. We ate the gingerbread camera. Making a functional sugar lens. Building the camera: the shutter and the aperture assembly. Building the gingerbread camera body. Up next. Support this blog & get premium features with GOLD memberships!
✪ Note: Some parts of this article are technical — feel free to skip them or scroll down to the comments and explore a few videos of this camera in action.
Edible film cameras are not a novel idea. Someone posted a video of their pinhole camera made out of an orange, and I remember seeing one made from a pumpkin. Another artist made a few cameras, the most memorable being the pineapple and the watermelon bodies.
This project pushes edible photographic technology to a new level with a fast sugar lens (great for indoor photography on a cold winter’s day) and instant results on Instax Square film that you crank manually out of the piece of bread after each exposure.
How the gingerbread camera works.
If you hang out with film photographers enough, you’ll hear them say this at least once: “A camera is just a lightproof box.” The sentiment implied is that film, lens, and photographer’s skill play a much more significant role in the quality of photos than the camera body.
However, that’s not always true.
Smaller camera bodies can free up the photographer to pocket their device, well-made cameras will be dependable regardless of the situation, and well-designed controls will help time the images perfectly.