Voigtländer Vitessa Camera Repair and Maintenance
A Short Guide for Light Home Repairs
9 min read by Dmitri.Published on . Updated on .
If you’re lucky to get your Voigtländer Vitessa camera in a fully functional condition, there often isn’t much to do other than to shoot it a few times a year and blow the dust off the lens. But sometimes, these cameras break or require an adjustment for optimal performance.
If it’s a plunger that can not retract into the body, the camera can not be repaired without creating custom-machined parts and fitting them in the maze of mechanical complexity. Numerous other issues, however, such as rangefinder adjustments, some other transport issues, and lens maintenance can be done in a home setting with the right tools.
In this guide: How to calibrate the rangefinder on Vitessa cameras. Rangefinder adjustments and lens calibration on Vitessa A cameras. Calibrating the lens focus to match the rangefinder. How to fix a loose rangefinder mirror. How to fix the film transport. How to clean the lens elements. Compur shutter repair manual. Support this blog & get premium features with GOLD memberships!
⚠️ If you have no experience fixing film cameras, Vitessas aren’t the ones to start with. Even calibrating the rangefinder may cost you a full day of tweaking with all the right tools and diagrams. But it could definitely be done.
How to calibrate the rangefinder on Vitessa cameras.
The rangefinder calibration is unusually difficult on Vitessa cameras.
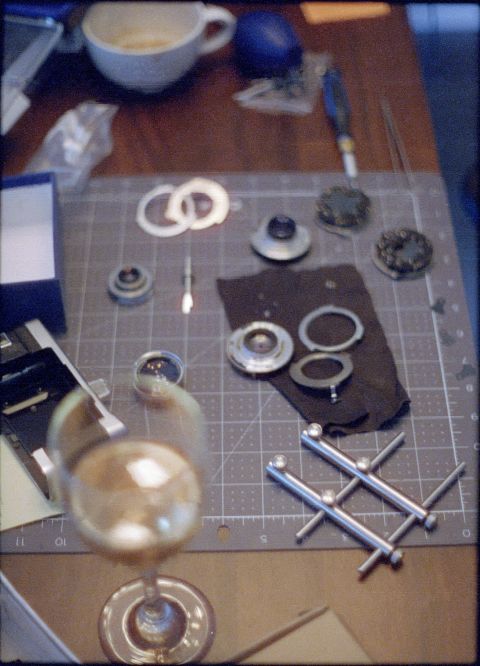
To do it successfully, you’ll need 1) a set of micro screwdrivers, 2) acetone, 3) a laptop/screen or a mountable piece of paper, 4) measuring tape, and 5) nail polish.
You will need to remove the top plate to make your rangefinder adjustments.
Do this by first taking off the camera back as if you are to load it with film.
Then, find the screw at the top of the chamber where the film canister rests. Undo it.
The second screw is at the top of the take-up spool chamber, it may be hidden by the black metal washer with a small cutout. Rotate the washer to reveal the black screw.
Once you’ve undone the screws, gently pull the top plate as you rotate the focus wheel counter-clockwise; your lens may suddenly shift half-inch forwards after your top plate is lifted.
You may be able to unscrew the tip of the combi-plunger (the large rod that advances the film and cocks the shutter), which in turn would allow you to slide the top panel off the camera body. In some cases it won’t give; you can try with a thick, soft cloth or a piece of durable rubber and pliers (gently) — if that doesn’t work, don’t worry, let it be.
Once you remove your top cover, the focus ring is likely to fall out of its position. It isn’t hard to re-assemble; I typically place it under the top cover and press it with my thumb in position when I place the cover back.
✪ Note: The next set of instructions applies to Vitessa L cameras. Vitessa A has a similar though somewhat different set of screws and mechanisms for rangefinder adjustments.
The tricky part of adjusting the rangefinder is that you have to make your adjustments to three tiny screws blindly, reinstall the top cover, check the results and repeat over a dozen times until you’re satisfied with the results.