Kodak Retina Longar (Xenon C) 80mm 1:4 Lens Review
Telephoto Lens Attachment for Retina IIIC Film Cameras
6 min read by Dmitri.Published on .
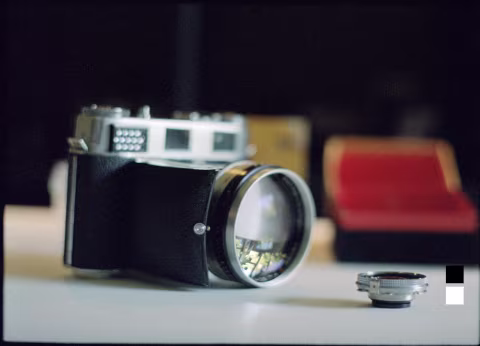
Kodak Retina Longar (Xenon C) 80mm 𝒇4 is an encased set of front elements that augments Kodak Retina IIIC’s native 50mm lens. It transforms the fancy 35mm film folder into a non-foldable telephoto camera — with some success and some downsides.
In this review, I’ll explain how you can find a matching lens for your Retina IIIC, how to install your Longar lens, and how to use it with the tricky focusing scale transfer.
In this review: Lens build quality. In-use with Kodak Retina IIIC: design and ergonomics. Retina Longar image quality. Where to buy your Retina Longar lens. Support this blog & get premium features with GOLD memberships!
Lens build quality.
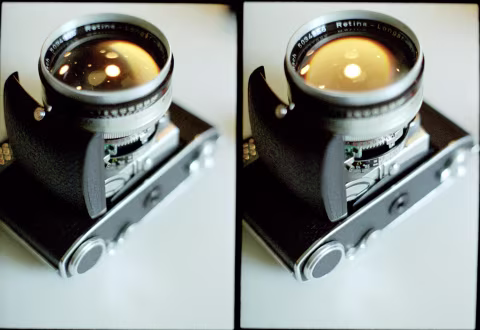
Like the camera it’s built for, Retina Longar is a fine-crafted instrument that fetched a top dollar in the 1950s. Encased in a brushed aluminum chassis, the lens features tight tolerances with precise print and engravement; it’s one of the best-looking lenses I’ve had the pleasure to shoot. And it feels great in hand.
Even the box that the lens comes in is beautiful. Longar is mounted inside a plastic bubble that goes into the red, black, and yellow cardboard/felt packaging.
In-use with Kodak Retina IIIC: design and ergonomics.
Retina Longar is a strange lens. Designed to extend the capabilities of a foldable 35mm film camera that’s already ridden with engineering complexities, it’s not very practical.
First off, this lens will not fit into Retina cameras with Heligon C lenses. And thus, before you acquire your Longar, ensure that the lens branding matches. You may also like to double-check that the distance units also match — my Longar shows feet, whereas the camera uses meters; this made focusing a lengthy and uncomfortable process.
The Longar lens shows a lot of numbers on its barrel, along with a movable ring. The ring does not affect focus; it’s only a way to calculate your depth of field as you rotate it. The actual focusing is done on the camera.
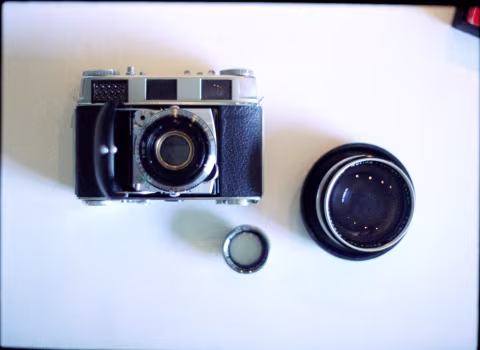
Mounting Longar isn’t particularly tricky. The 50mm front element is attached using a bayonet mount; to remove, rotate the element counter-clockwise so that the red dot on the metal tab just outside the lens ring aligns with the red dot on the barrel. It can be stiff to remove. Next, match the red dot at the back of your Longar with the red dot on the barrel, fit the lens and twist it clockwise.
Because the 80mm longar uses a different focal length, its close focus marks do not match the native 50mm scale. And thus, to focus it properly, you’ll need to either zone focus or transfer your rangefinder’s value.
To focus Longar, use the black scale at the bottom of the camera’s lens base with the “T”-shaped pointer mark. I used the zone-focusing method on mine, but you can also use the rangefinder to figure out the distance to your subject and then transfer that number from the top of the lens to the bottom scale.
For example, after you’ve focused your rangefinder camera, the scale at the top of the camera may indicate that your subject is 3m or 6” away. To transfer that value to your Longar, flip the camera upside down and dial the 3m or 6” on the black scale with the “T”-shaped pointer mark.
If your Longar lens uses feet for its depth of field calculator and your camera uses meters, you won’t be able to figure out how much of your scene will be in focus easily. However, this is not the most important or annoying part of working with the Longar. Distance transferring hassle aside, you’ll notice that your rangefinder patch becomes a distraction as it’s always out of alignment — unless you’re shooting something at infinity. This can make framing a very cumbersome experience. Ugh.
And so, despite their great looks and better-than-decent image quality (see below), Longar lenses are a pain in the ass to use.
Retina Longar image quality.
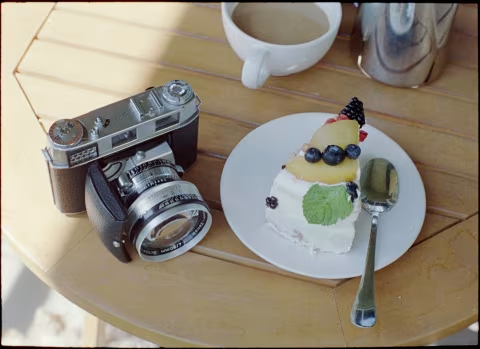
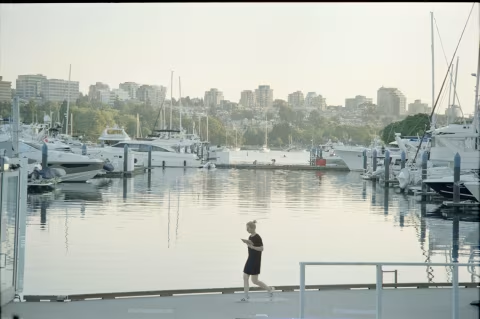
Retina Longar glass renders decently sharp images. In my experience, they have better corner-to-corner performance than the native 50mm lens.
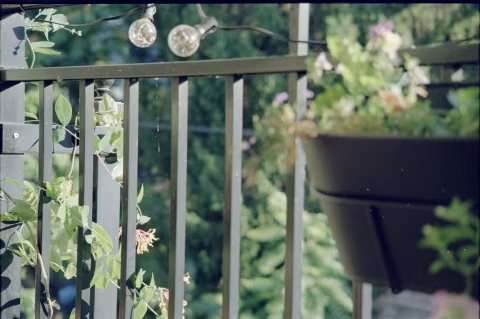
The lens shows minimal vignetting and no noticeable chromatic aberrations. Like the native element, Longar renders scenes with medium-light contrast, which could look great with over-exposed Portra films. For a modern look, you may have to bump the contrast in your scans using Photoshop or another image editing software.
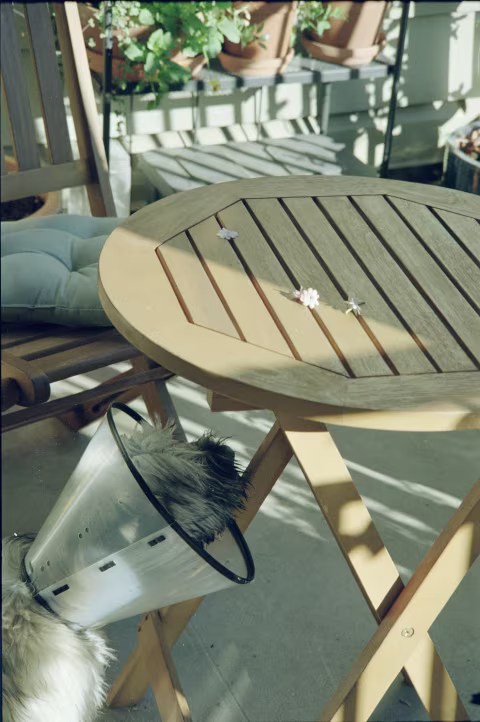
Even if you set your retina to 𝒇2.8 or 𝒇2, the Longar will not open up any wider than 𝒇4. But despite this limitation, the 80mm can show wonderful bokeh, especially at close distances.

Where to buy your Retina Longar lens.
Retina Longar lenses are not rare. They are also affordable, with most copies in excellent condition costing under $100. However, before you make your purchase, ensure that the Longar glass brand matches your camera (Heligon C vs Xenon C) and that the distance units also match (feet vs meters).
The practicality of these lenses is very limited, but I found the looks simply irresistible. And so for the price, they aren’t so bad.
❤ By the way: Please consider making your Kodak Retina Longar lens purchase using this link so that this website may get a small percentage of that sale — at no extra charge for you — thanks!